Søk i denne bloggen og Lenker

Viser innlegg med etiketten E420. Vis alle innlegg

onsdag 6. august 2014

Olympus Blues ....Are the Greens and the Shakes

After a bit of a break from taking photography seriously - a bit unfocused if not diffuse - I have been using the E450 for more or less snapshots and I have been with the family all the time this summer so the "better " more thought out shots have been actually compromised into being ever so slighty better but often lacking.

So this summer for the first in four years of E450 joy, I produced no signature portaits of the kids and no perfect landscapes.  In fact: Quite a lot of mediocre results due to various factors, mainy of course concentration, but also some limitations of the camera: My main bug bears are then:

1) camera shake / movement blur
2) using too wide an angle
3) composition needing cropped which could have been in camera zoom or "shanks pony" zoom/ shifting my backside
20m
3)b) titled images needing rotating and cropping out good composition
4) Olympus Greens

On the latter, the green,  green grass of home is ever so slightly too green. I guess this is because olympus have chosen to optimise their system into producing stunning sky and sea blues and flattering skin tones (in contrast to panasonics crappy jpeg engine). I shoot only jpeg Large Fine now because without a full photoshop investment and a lot of time on my hands, olympus have hard coded the best jpeg conversion chip in the business and i cannot do better.......except for those garish lawns and hillsides.

I was a bit taken a-back by olympus having a vivid setting as factory default but more disappointed that "natural" still produced garish greens and rather flattering skin tones are more apparent. Reds and blues become more realistic thought.

The fix for images with a lot of green, such as lawns or grassy summer mountains is to set the camera to "muted" which suddenly makes the greens very natural and even adds depth and texture to grass details.

Just remember muted will give rather dowdy blues, yellows and reds while also losing some flattery in skin tone.

On the green issue i coud advise someone who is clued up and who has lightroom, corel 64bit or photoshop to then shoot raw and adjust per "keeper" shot first, then running a batch conversion on the series from the shoot. I would rather be behind the camera on location than in Post personally.

On being behind the camera, this brings me to point 3.

The main draw back with the earlier olympuw E series cameras through to the latter day last of the 10mpx my dear old 450 , pre E3 /30 ,was the small view finder. The OVF gives less than full view of the actual chip frame size and is small and difficult to use with glasses. I often find I am trying to catch my kids in full flight and at the right moment, head out of camera ,and i more or less end up shooting with a "blind" eye to the actual composition TTL.

This leads to most often shots which are too wide, shots which are tilted badly off plumb or zoom shots which are cropping off limbs.

For kids-in-action shots there is just going to have to be more praqctice in setting up and knowing what focal length will work best. CAF focusing in ljive view is too slow, but can be useful for candid shots of people at ease. Also a better eyecup is probably available for spectacle wearing clots like me. This then covers two.

I think i need to go back to looking at some posed, stock library family shots etc and get a feel for composition and then fire off lots of frames when i feel the golden moment is in there.

So no quick fix there, only a back to the basics, experiment and experience. At least i stand inspired as i have hardly lifted my olympus to eye this year!

Finallly the real bug bear for E450/420 and I suspect many other non image-stabilised E series cameras: low shutter speed .

Programme/ Auto mode in Olympus favouritises aperture wide for faster shutter for the same exposure. This is okay if you own the faster, over price f2.8 glass wear, but for the vast majority of we "hundred" series owners we dont own, and we cannot just go over to standard shutter priority and dial in because we have poor non base ISO. We shoot ISO200. Or can we?

Well we have had the sun here and i have bet on 1/320th on S mode as often as i remember to set the camera up. I then shoot even -0.3 a lot of the time to get nice saturation and further more I have been using a polarising filter all summer, whipping it twixt the two kit zooms it fits. The thing with the E series is that you can pull detail and colour out of the three quarter tones into the shadows, but the quarter tones are often poor and the highlights clip in.

So here I have dozens of S images and a good few high light range images which can be lifted, but you know what? ? I like underexposed landscapes and people shots and town or boat shots because it kills off blocky highlights and adds depth with heavy shadows which have good gradation into them.

My investment then for the end of the summer with no work contract for August yet, was a half price monopod which is a full 1669 mm extended ,almost eye height, which i will experiment with to see how much this improves my camera shake issue to free me up for A priority and low light shots.

I am inspired to do a blog based on the very theme post shooting. Watch this space.

mandag 11. mars 2013

Over Coming Percieved Weakness: Olympus E450 (420) Indoor, Low Light


I  feel that I am kind of at a level of diminishing returns in terms of learning curve for the Olympus E450, which has basically been my dream camera in terms of replacing a stolen Om4Ti with a camera with relatively endless, free film and processing!

One area which annoyed me for a long time was the fairly useless indoor focusing capabilities with the E450. Quite a few entry level DSLR cameras from a few years ago were poor in this respect, so the Oly is not alone, but there must have been many prospective buyers put off in shops while trying to get a sharp shot in low light!

As in many areas of life I see a weakness as something to be worked upon and really an opportunity of improvement, improvisation and a feeling of both frustration with the approach and satisfaction in the journey and end result.  A little perseverance and trial and error and hey presto, much more satisfactory results as below.


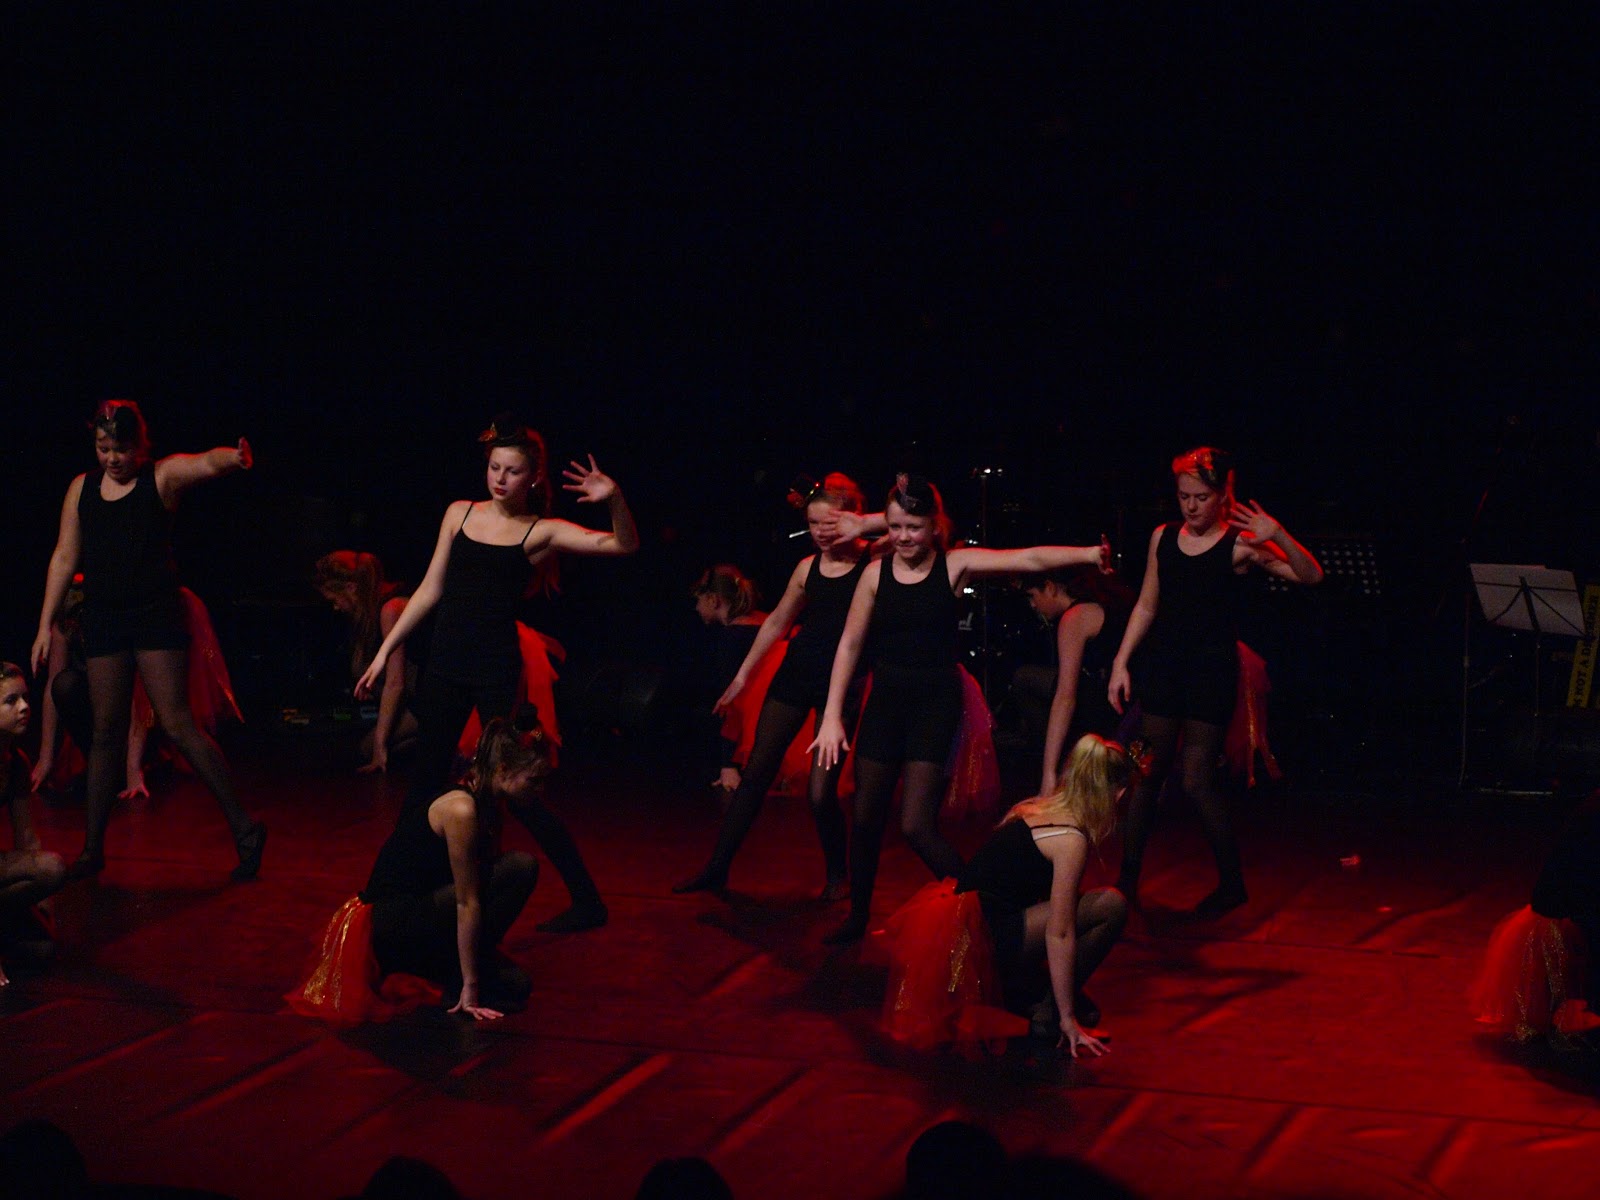
November 2012   Olympus E450 SiO800, Manual Focus, Handheld, 40-150  125th/60th sec f5.6


Summary of Approaches and Post Processsing:

There are a couple of fixes to low light and night phot'ing which involve focusing set ups, white balance and exposure test shots and then a mixture of either tripod or higher ISO settings. Focusing is about pre-indexing and could be equally applied to sports photography in bright light at high shutter speeds.

1) Resetting the AEL/AFL button to focus lock. I haven't done this for a while , but if you are at a concert as above and have a FT/mFT 1st generation camera with an f stop above 4 useable then the better depth of field for exposure value on the FT crop / sensor means that you can find a focus when the stage is bright, lock it on a central pointm and then leave alone until you move position yourself out of the seat!

With a faster lens, or a closer view point in the stalls, you probably want to repeat this but may be as well reverting to holding focus on half depressed shutter and releasing the shutter button: faster SWD lenses may work better anyway in this type of situation.

2) Manual focus. The e450 is a bit of a pain to get in and out of the mode above and because you are likely to touch the AEL button inadvertently or want to maybe use it for exposure locking rather than focusing, then you may just as well use manual focus. This applies to night outdoors too. You use the liveview zoom function to get a point on the mid of the stage in focus while having the camera very stable pre-show using the back of the seat in front or a bag or the like on your lap. A technique I learned while working as a surveryors assistant one summer in 1986, was to rock the focus by turning the ring both ways around the initial best focus roughly, until you get the best "peak" of sharpness in the decreasing oscillations ( I later used this as a scientist down microscopes, standard technique!) 

If there is a little more light, then you can use PDAF ( still on in MF but just metering BTW) and through the lens with first your eye as a rough guide then trying to see if the in-focus indicator circle lights up as you search for light or high contrast spots on the stage or subject.

Lenses like the prime 25(50eq.)mm and the 14-35 (28-70 eq)mm have much better manual focus but practice in the two above will allow you to at least "index" ie lock to the night's action zone before the subjects come on stage or whatever!

3) Now onto technique, compositions and in camera settings:

a) At normal ISO you will struggle to get bright images, but remember you can rescue a lot from olypmpus' images in the shadows and with less noise at ISO200 you may get in fact a better end result.

b) IS0 400 is fine ,but the noise to speed pay off is better at 800

c) 1600 is getting noisy, so what, switch to black and white and enjoy the free grain!

d) Decide based on the above what your constraints of shutter speed will be for the shoot. If it is going to be 60th of a second then you have the following choices:

    i) still as possible subject
   ii) Panning with the action and taking multiple shots with that chosen in the shutter setting

e) for ISO800 you may be able to shoot at up to 250th of a second and push the shadows

f) 125th of a second is enough to freeze some slow movement while flailing arms for example become an interesting feature of your image.

g) as above, will the image be better in monochrome anyway? WIth more action, switch over to ISO1600 and blast away some frames of action.

h) Remember, remember that camera shake is an issue: use your arms on thighs and press the camera to your face while sitting heavily and comfortably in order to make a tripod effect, or use the back of the seat infront. If you need to stand at say the ovation, pump up to higher ISO. Squeeze the trigger soldier, don't pull it!!

i) Take a lot of photos, and take a good few test photos.


j) use spot metering often for unusually lit subjects. You will see that the photos above are just on center balanced and may have benefited from a spot meter and AEL lock on the best subject.

k) use an alternative to J, auto bracketing if you cannot see results are quite perfect on the cameras programme. Alternatively to save memory and time, just flip the exposure up and down on the wheel a step to catch the odd attempt. Remember under exposed is revoerably, over-exposed will have blocky highlights on older FT cameras and there will likely be more polychromatic noise.

4) Post Processing.

a) lifitng the shadows: This is actually a bit like being the in the dark room at the photo club in 1983 for me: as if by magic, the olympus has recorded detail you cannot see in the original and you can "wash" it out in curve work at the lower end. Lifting detail without destroying absolute shadow, reducing contrast and introducing chromatic error is a bit of a black art, and worthy of its own section. In GIMP and photoshop you can just try to lift the curve about 5% up just a little way in from the last shadow area in the bottom left hand corner, and if your version auto adjust the rest of the curve, then you need to set several points or just play about until you lift detail out of darker areas without the unwanted side effects.

You may want to use masks to selectively lift an area for detail, while actually in the scenes above, you may want to drop the background or "cheat Full Frame Aperture" by blurring the background. Masking basics are covered in an earlier blog and any good manual or HELP for better image processing packages.

b) Looking for Crops with nice Compositions. Another thing to do, self explanatory, but you can often get something better from cropping out "blah blah" or selecting a small part of the image which is fun.

c) Noise filtering manually. The Noise Doctor: This is once again an area worth an entire bloggopedia, but basically for low light and night photos taken at ISO800 at least,  the shadows will be the predominant source of irritating noise. You will be able to see though if you zoom to the level individual pixels show up, that there is often a predominant colour of noise: blue in the ones above. I have more often had olympus "red speckled hen" which is actually predominant at ISO1600. In either case you can choose the blue or red channel in "curves"  and the easiest thing to do is to actually crop the histogram in on the dark end, or you can manipulate the curve more subtely. The majority of the blue or red specks of noise then fade into black and as if by magic you have a 2007 camera sensor which pushes results like the best prior to Sony's latest 16-32 megapixel wonder sensors.

With Polychromatic noise in lighter areas, still do this for the dark areas and then run a de-noising programme or feature (oly' viewer is pretty dire, GIMP has some okay plug ins, while PS and LR seem to have a lot of smoothing in their out-of-box amateur versions according to users)
Then you need to:

d) Sharpen. Decide how the image is to be used: if you are cropping or enlarging for a print to be used in a book or as a large screen image, then an otherwise moderate amount of sharpening can look plasticy when seen larger. However some printers respond well to sharpening and produce better results. You know your use. For a small image, or in black and white, you can push sharpening to quite excessive legnths and improve "Image Impact" on screen or for news print. Sharpening can get you back to 250th of a second from 125th if you are lucky and have just a little bit of blur from shake or subject movement.

Also it can enhance the subject "free of charge" by sharpening: you can achieve this best sometimes by choosing a higher threshold in unsharp mask ( over 12 pixels to say 20 pixels) which favours higher contrast and more prominent detail that was there already rather than any old line or artefact.

e) Try Monochrome in Post. I see on the photo-forums that a lot of people think they can get published by shooting at a concert, for at least the local press or a web site, or they may whangle a press-pass. My pal Ken Dobie was actually one of the FEW amateurs who dared do this with an EOS and fast monofilm in the 80s. His results are more to my taste than the usual kind of high ISO, low contrast, purpely crap expoused for "my first shoot at the fuddy waters concert".

Some images which capture a mood or expression or something in a scene or still life in low light can be thoroughly transformed from wishy washy, strange coloure balance fails into stunning monochromes. Dont hold back on high contrast and blocky highlights and shadows! Enjoy pulling the curves and pushing the sliders and even try a grain effect ( blogged on earlier)