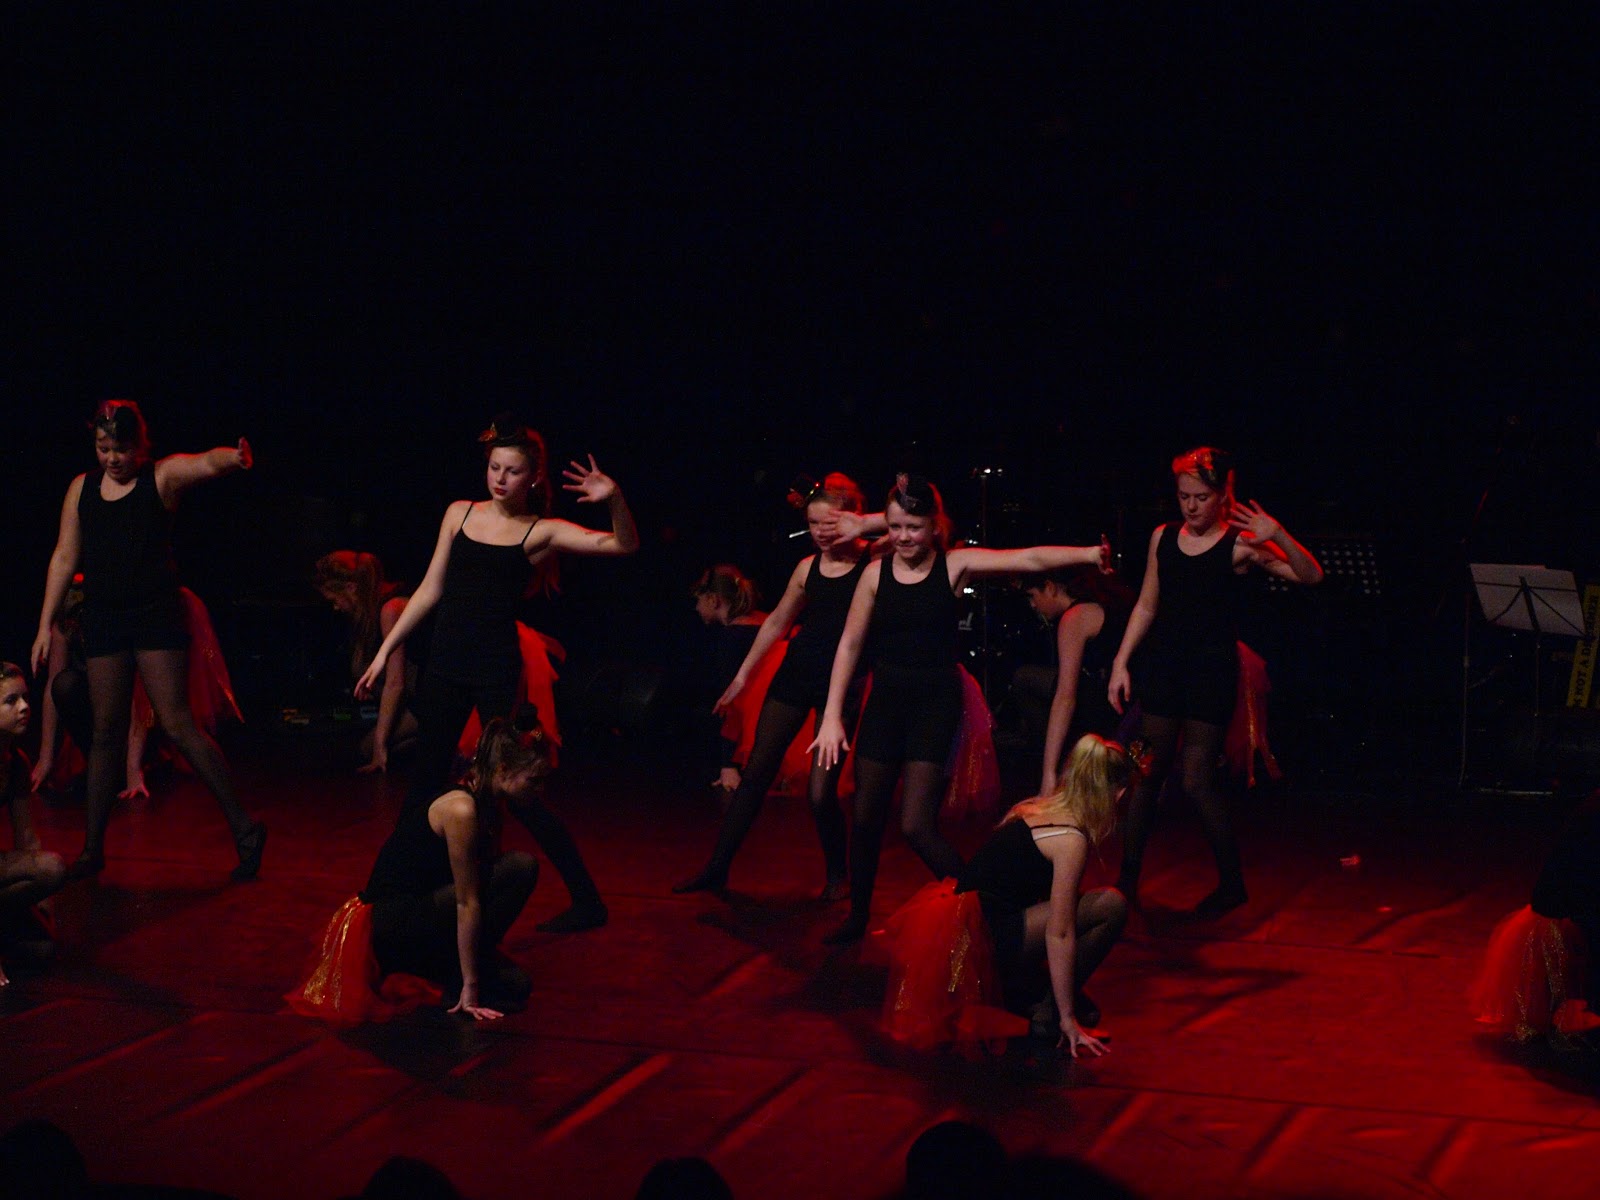
I have just taken a tour into the never-never land of Leica on a well known internet forum and came away with a decidedly underwhelmed feeling. Worse when I went onto the NIkon 1 MILC forum, where the standard of photography on average did not warrant more than a mobile phone, while a particularly well captured composition of dancers had awful soft, out of focus or camera shake from what looked like a pause in proceedings.
All these people have one thing in common, they have spent far more than they needed to in buying a camera for what they actually 'need'.
I think that people really miss the point if they have not grown up with the principles of photographic techniques and basically an eye for sealing a moment in eternity from somthing which they feel they can grasp. In other words, some people have a natural talent for both seeing the moment as it arises, the photo-opportunity, and then having the skills to capture it. Or seeing the composition as it presents itself , such as a sunrise or shadows cast across a railway terminals marble concurs. Any camera will take you there if you don't know where you are going....
Now what type of photos are you likely to take, which do you like most, why do you want to take photos in the first place? Over time in the west most people who have been interested in taking better quality photographs have been talked into buying the cheaper entry level digital single lens reflex cameras, and until just a few years ago these indeed were the route to better images than the small pocket sized point-and-shoot cameras.
Why DSLRs and Multi Lens System Cameras are a Waste of Money For Most People
DSLRs of the entry level type are also bought by the consumer masses at inflation adjusted prices two to three times the price of mid nineteen eighties 35mm Film SLRs , when a then funky PASM body would set you back between 200 and 300 pounds for a 35mm camera....oh did I say that most all people buying a DSLR by numbers, buy a smaller than that of course in the APS/C . It is ironic that this originally film format was heralded as the next big thing when in fact it took so much away from photographic quality, while now in fact it is both the bread and butter of over spend on a students or a family's camera and also a serious contender for proffessional quality output.
The thing is that DSLRs are obtrusive by their size, their shutter noise and actually the message they give out...this is a serious image that is being taken. People can be guarded in their response to candid shots. Your face is hidden from interaction by in large, you may well be better served by ducking your head under the black cloth of a large plate format camera of old because at least then you are hiden as a person.
Also they are cumbersome, and feel a little vulnerable with their snouty lenses. You would probably not take a DSLR down the rough side of town alone, you maybe avoid taking it hiking or boating due to its weight and value, and you most of all would not get allowed into a rock concert with one slung over your shoulder without a press pass.
Compact Cameras A Great Choice, And A Great Future
This is why compacts took off with proffessional photographers. They found them far less obtrusive. The cameras were a lot less threatening, almost as if JFK or Che Guevera thought they were having family snaps taken and not iconic images which will last through history. The tool of choice was the Leica M, or some photographers used the film Olympus PEN cameras. It took the invention and implementation of the pentaprism view finder in 35mm, to change the game and in fact all these SLR cameras owe as much to the 35mm compacts of the 1940s-60s as they do to the twin less reflex cameras they largely came to replace.
If you watch many pro's at work in the studio or working sub telefoto, they often spend a lot of time away from the view finder. The back screen on digi cameras helps them. Some do not have this approach, tending to be glued to the view finder, but most you will find I think are there looking at the scene or model and waiting for either the right second or the right inspiration to then execute the shot technically.
Things have come full circle with Leica going digital, but remaining out of reach for most pockets, while Olympus played the price payoff game with mFT along with the new kid on the block Panasonic, who swalled Leica behind the scenes in order to get a head in the consumer photography market. Both have ended up creating real rival cameras to the great Nikon and Canon 35mm digital SLRs and also Panasonic rival proffessional video cameras in their GH range. Yes there are some draw backs, but in essence you get images which can be to a jobbing media professional, indistinguisable from full frame. It takes a technician to tell the difference between these mFT cameras and their 'professional benchmark' cameras such as the D3 when the best lenses are engaged.
Why The Through The Lens Optical System is Obsolete
In essence the pentaprism, or mirror box as it is on many cheaper SLR cameras, is an uneccesary feature on any digital camera, and adds bulk and also requires the mirror geometry which takes up space in the distance from the film to the lens mount flange. Pentax have basically just chopped it off in their mirrorless APS-C cameras. The optical view finder in all cameras has been made further obsolete by firstly LED based back screens and by the latest generation of electronic viewfinders. The arguments about the virtues of the OVF, the optical real deal have all but evaporated from the chat forums of the photographic web community.
There are benefits in low light, with light intensifying, in giving extra overlayed information and in reducing the size of cameras when going for the EVF, whille many consumers have grown up taking images on their mobile phones, and have no relationship to the viefinder. They have actually broken a couple of the barriers I talk about above. Firstly your camera becomes part of the scene, obvious but a social device in taking shots. There is nothing special about having it with you, and nothign special about group selfies. WHYSIWHYG - what you see is what you get, the frame of the camera is just a part of the scene, or the scene is looking at the frame and seeing themselves before it is taken. There is a continuum with only a narrow picture frame between the screen image and the wider reality around it when you hold the camera out to take a photo. You are taking your head out of the camera, usually letting the programmers who made the camera take care of the technical exposure and focus, and just picking your moment..... most of all as I say just above, it is the camera you have with you MOST.
Limitations of Your Mobile Device Camera
Unfortunetly there are many draw backs with mobile camera images, but do not let that influence you if you decide that you are maybe going to get a shirt pocket camera versus a better mobile. Go for the mobile with the best in built camera from the range, and then of course you save yourself maybe half the buying price by not having spent your cash on a compact which will do little more at the sub 200 euro end of the market.
I dare say that there are paid ie professional photographers now who have only taken images on mobile phones, and probably work either for the mobile manufacturers or the networks in producing inspiring images which then of course eat up mobile network megabyte allowances!
The draw backs of mobile phone in built cameras are:
1) No good quality telefoto /zoom photography
2) No real control over blur ie always a deep depth of field
3) Often poor low light images with motion blur, speckled image noise and incorrect colours
4) Often poor controllability over shutter speed
5) Highlights and shadows are 'clipped' ie lack nuances
6) Sharpness for print quality is lacking
7) Usually dependent on the cameras own way of compressing images into jpegs and that can create banding and aliasing ie blocky images.
All of these are being addressed as I write. Panasonic have launched a "large sensor mobile phone- this promises to have less low light noise and better control over DOF,.There are intelligent blur filters and after effects which are getting very very good in faking it. The best mobiles now feature Shutter Priority ie shutter speed selectability and exposure control with live view. You can take black and white images or alter them instantly in any android or apple phone now.
However it has to be said that the drawbacks are only being clawed in partially and basically you cannot get a ferrari v12 in the body of a Mini. I would say as a photographer myself, that if you are upgrading mobile phone right now then look for the one with the best camera and most controllability now for your price and choose a mobile operatiing system around that. If though you are really keen to learn photography then do not waste your money on the best mobile camera, look for a compact camera which suits your ambitions and pocket.
Getting Your Head out of the Camera
What using a mobile though. as I say you get a very immediate interface to the world around you and less of a barrier to people or the crop of the scene you are going to take. You can train your eye to take shots of what you see as being good, ie there is a subject or wholistic impression to be captured, and you frame that in a way which is clean and pleasing. You execute it without camera shake, and you adjust exposure or effects to make something which looks pleasing immediately. In fact you experiment with art filters on images and post processing with effects on the fly, taking maybe dozens of shots for fun. Not worrying about focus and shutter is actually a bonus.
The vast majority of DSLR owners have an entry level Canon or Nikon, and they set it to P, programme mode because that is easy and they remember forgetting to turn it off F16 or a half second exposure when they did venture round the PASM wheel. So as a mobile phone photo artist you are in good company.
Often quoted is of course the percieved need of expandability, but in fact the vast majority of first time DSLR buyers stay with the kit zoom lens they bought the camera with until the whole camera becomes dated and loses its resale value by more than half, by which time they buy a new. Expandability means essentially buying more lenses and eventually upgrading a new body which is still compatible with the system. The problem is that really the cost of the system is prohibitive for most buyers, they just have better things to spend their money on because buying an f1.8 lens for twice the price of their original camera kit just does not seem like good value. If the cost of bodies have perhaps doubled in 20 years, the cost of system lenses, filters, flash units, tripods and so on have gone up more than three times. In my opinion, you get actually very much more for your money but wages have just not kept up for the majority of people in the last 20 years. A middle road APS-C system with four lenses, a good flash, filters and carry bag is probably around about three thousand pounds. That is more than twice a comparable system such as the OM or early AF EOS systems costed 27 years ago.
How Many Millimeters Do you Need?
Lenses though are a very good place to start in defining your needs in a camera. The most obvious feature is the focal length which provides both the magnification and the field of view, and always referred to in "mm" and for historical reasons that is then when talked about, converted to old momney ie 35mm camera equivalents. mFT has tghe kindest equivalency being half the lengths for which ever format of sensor chip you buy, you willl find a 35mm equivalent either referred to in the instructions or you can search for it on the internet.
. In 'old money then the ranges are>
11mm and below: Fish Eye type images and highly distorted images.
22-24mm Considered a strong wide angle, gives interesting perspectives and deep DOF, useful for landscapes and street photography or many creative approaches. These lenses function much better in digital photography than film, because the natural distortions of this very wide are corrected by in camera computing such that the edges do not appear unduly curved.
30-40 mm The 35mm lens is the classic compact lens of old, as it is compact while being wide enough for street photography and landscapes, while having natural depth of field which can lend itself to closer portraits or journalistic photos of people than telefoto lenses
50-55mm The classic nifty-fifty , this lens range has fallen out of favour, see my note below, but were often the very good standard, basic lenses fitted to cameras for first purchase. Slightly less magnification than eyesight, they cover a field of view quite similar to the human central field of attention, and that is perhaps why they were so popular, making it easy to frame images and capture desired detail.
.
75, 90, 120mm These are the classic lengths of portrait telefoto lenses, and my prefered working magnification for working with people and certain sports like sailing. They were affordable and had wide apertures which meant they could take very short depth of field shots, making for nice soft backgrounds and even a side of the face out of focus. The modern fast 'prime' lenses ie fixed length, for all the smaller formats are correspondingly much smaller than the full frame 135/35mm film which is a benefit. The usual kit zoom lenses usually cover this range from the wide, or from about 50mm eq, but lack the very fine depth of field in the full sized versions.
.
They create a noticeable magnification over eyesight and make it easier to work further away from the subject. As mentioned they used to be very good value for money, being about 100 to 250 pounds for a film SLR. Now they arre partly obsolete due to zooms and have become expensive items often at professional prices. One way of getting a cheap upgrade to a current APS-C or in particular an mFT lens is to buy a convertor ring and buy a cheap second hand 50mm nifty fifty lens from an old film SLR. The drawback here is you will need to manually focus.
Zoom lenses which cover this range while also offering the very wide apertures of f2.8 and lower, are for most people prohibitively expensive being very often more than twice the price of the initial camera and lens. However you can work around this a little by using the longer end of an equivalent of 150mm to 250 mm and then backing off from the subject a few meters. You can then achieve a nice blurred background, but be aware that camera shake becomes worse the longer the focal length chosen. My zoom lens on FT which covers 80mm to 300mm does not need to be backed off very much, just a meter at 100mm eq to make for a nice subtle blur, while also it has to be said, keeping the whole of the face in focus.
Telefoto Lenses
150 - 600mm and beyond. A typical useable length for nature photography is considered 400mm, and there is a trade off here between having to use a very stable tripod for the longer lengths and maybe being able to take some careful handheld shots at higher shutter speeds.
In the days of135/ 35mm film and at the longer ranges today, zooms were bulky and had quite restricted aperture values of f5.6 upwards as a start point, so it made it hard to get a fast shutter speed to stop the amplified camera shake movement.
Working Out Your MM Needs
A very useful feature of modern jpeg images is that they usually contain embedded information, date and time of course, but also shutter speed and focal length. So if you have a cheap compact or your mobile you can get an idea of what lenght you use, and then you can start to look at some of your favourite photos or some photos you found frustrating. Too far away, not close enough, not enough of the scenery and so on.
A very commonly sold modern camera type is the Superzoom which are chunky cameras with a telescopic zoom lens, offering at least as high as a 400mm equivalent often from 28mm wide. So you can take images from wide landscapes to wildlife. Unfortunetly the compromise is that they use small sensors to make the system less cumbersome and to keep the price down. If however you are happy with mobile phone image qaulity, and depth of field control is not important to you while being able to take birds-in-trees shots is, then the latest cameras are not bad, although you may find the picture qaulity is not even as good as the iPhone 6 or Galaxy s4, all be those with much more limited magnification.
Be honest with yourself. A long focal length is just a nice to have, it probably does not reflect the vast majority of pictures you take, while the bulk and limitations such as camera shake and need for a tripod, mean that lenses for an interchangeable camera are rarely used, while a super zoom aka bridge camera is used seldom on the long end, and you carry the bulk and reduction in image quality for no real reason.
However at the other end of the scale a nice wide angle of 24 or 28mm you will get lovely landscapes, city scapes and so on without having to take panoramas and force people to click or scroll to get the impression.
Good family portraits begin at around 45mm, head and shoulder shots, and as I say 80-120mm for heads and faces only. This is very well catered for in many smaller compact cameras. On MILC cameras and DSLRs often the kit lenses are just a little short, being around 85 mm max zoom and then you need to swap just to do head shot close ups. However you get a better control of shallow depth of field and background blur, and for APS-C and mFT you get good enough quality to be able to then crop in on shots and make really nice face portraits for example.
There are now though a very few compact cameras which offer this useful range of 24mm to 80/100mm in a zoom and have both a wide aperture of below f2.8 and a larger sensor. They are actually dearer than entry level DSLRs with their single kit lens, but in fact take as good photos while also being able to fit in a jacket pocket. Sony, Panasonic, Olympus and Canon all have enthusiast cameras some of which have the 1" sensor or larger like the mFT sensor and 1.5" sensor.
Lenses for Nice Blurry Backgrounds ?
Depth of field means how much of the image is in focus. For a wide angled landscape of the Scottish Highlands with a lake shore and an obligatory stunted tree, you want a deep sharpness ie extensive depth of field. For a blurred background in a portrait, you want to have a shallow sharpeness, a limited depth of field. The first deep type is actually very well achieved by the latest mobile phone cameras, and you can take very good scanning panoramas the camera stitches together. These are okay for use on facebook, and great if that happened to be an opportunity you didnt have another camera with you.
As I mention above you can cheat with longer focal lengths in achieving the same thing but it is far better to have control over depth of field by essentially having a wide aperture in the main range of your defined needs, which I suggest are those of the enthusiast compacts I mention, or an interchangeable lens system camera with a more expensive zoom lens in the 24-90mm range. A very interesting alternative is to buy a kit camera and then a high quality 35mm semi wide which can be used for everything from close up portraits, body length shots, group shots, street architecture and landscapes. You then queu your gadget legs to achieve zoom ie framing what you want. This also renders the camera very compact.
As you get better at photography you will decide that 'fast' lenses ie those with apertures of f2.8 and lower, are highly desirable because you not only get better control of shallow depth of field, but you can use faster shutter speeds to freeze action and avoid camera shake.
Lenses are really the key to photography and literally the window on the world for all cameras and image capture.
Reflecting on Your Needs Now
Now start adding layers of what you want to achieve. Action shots? Long smooth exposures in low light? Silky blurred out backgrounds? Telefoto nature photography? Super wide landscapes? Professional looking portaits and posibly setting up your own stuidio? Flash free night time street shots ? Video with fidelity for your HDMI tv at home...
Now look at images you have taken and would like to have taken better. Then find images you love. Now go to a shop with some enthusiasts as staff, or if you dare, venture onto a photo chat room on the internet and start discussing those images and what you want to do before you start discussing camera models.